Join this particle hair revival kit review bourbon and boots of Brandon Baxter as he shares his unfiltered personal experience with it. Discover the science behind the ingredients, real customer reviews from across the web, and whether this premium kit truly delivers on its promise to boost hair thickness and reduce loss.
specs
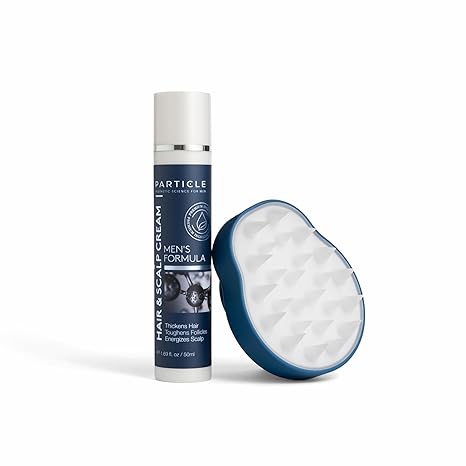
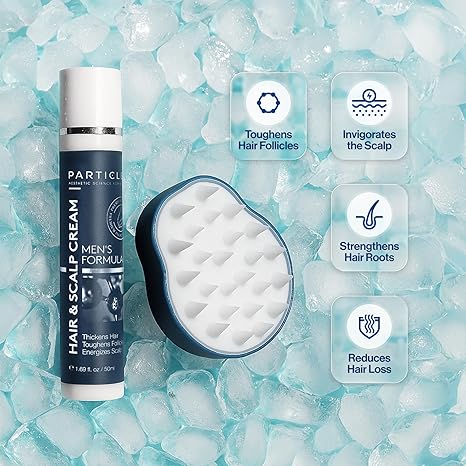
⭐ Includes: Biotin-infused scalp treatment cream and scalp massager tool.
⭐ Key Ingredients: Biotin and other scalp-nourishing compounds formulated to support hair follicle health.
⭐ Application: Easy topical cream application followed by gentle scalp massage.
⭐ Target Uses: Designed to help combat hair thinning, improve scalp circulation, and promote fuller-looking hair over time.
pros
✅ Helps improve scalp circulation — Massager enhances blood flow to follicles, potentially supporting hair health.
✅ Biotin-enriched formula — Biotin supports hair strength and thickness.
✅ Relaxing and easy to use — Simple routine that combines cream application with a gentle massage.
✅ Suitable for regular routines — Can be used alongside shampoos and conditioners without much hassle.
Introduction: The Mirror Doesn’t Lie
My name is Brandon Baxter, and like many men in their late 30s, I’ve spent a significant amount of time staring at my reflection, specifically at the crown of my head and my receding hairline. It starts subtly—a few extra hairs in the drain, a bit more scalp visible under the bathroom lights—but eventually, you can’t ignore it anymore.
I’m a guy who appreciates quality. I like my bourbon aged, my boots leather, and my grooming routine straightforward but effective. When I started noticing my hair thinning, I didn’t want a “miracle cure” from a late-night infomercial. I wanted something that felt professional, backed by science, and designed for a man’s lifestyle.
That’s how I found the Particle Hair Revival Kit. If you’ve spent any time on sites like Bourbon and Boots or followed men’s lifestyle blogs, you’ve probably seen the name. Particle has built a reputation for high-end men’s skincare, and their foray into hair care promised to bring that same level of sophistication to the scalp.
But as someone who has been skeptical of the “hair growth” industry for years, I wasn’t going to take their word for it. I decided to put the kit to the test for three months. I also spent hours researching the particle hair revival kit review bourbon and boots landscape, looking for honest feedback from other men to see if my results were typical.
This isn’t just a review; it’s a deep dive into the reality of hair revival. If you’re tired of seeing more of your scalp and less of your hair, read on.
Part 1: The Kit – What’s Actually in the Box?
When my kit arrived from Amazon, the first thing that struck me was the presentation. It felt like a premium toolset, not a collection of bathroom clutter.
1.1. The Scalp Cream: The Heavy Lifter
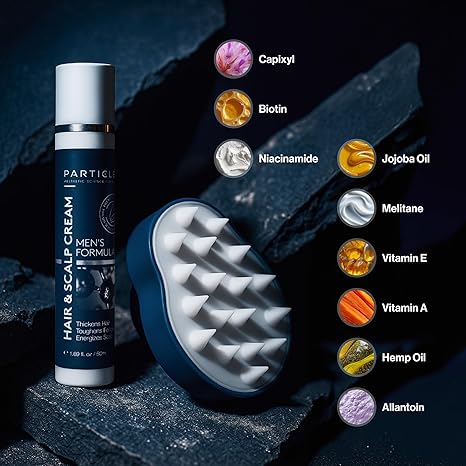
The heart of the kit is the Scalp Cream. Unlike messy oils or foams that leave your hair looking greasy, this cream is designed to be massaged directly into the scalp. It’s formulated with a blend of nine key ingredients, including:
- Capixyl: A peptide complex that targets the main causes of hair loss.
- Biotin: The “hair vitamin” that strengthens the hair shaft.
- Niacinamide: To improve scalp health and circulation.
- Jojoba Oil & Vitamin E: To nourish the skin and hair follicles.
1.2. The Scalp Massager: The Secret Weapon
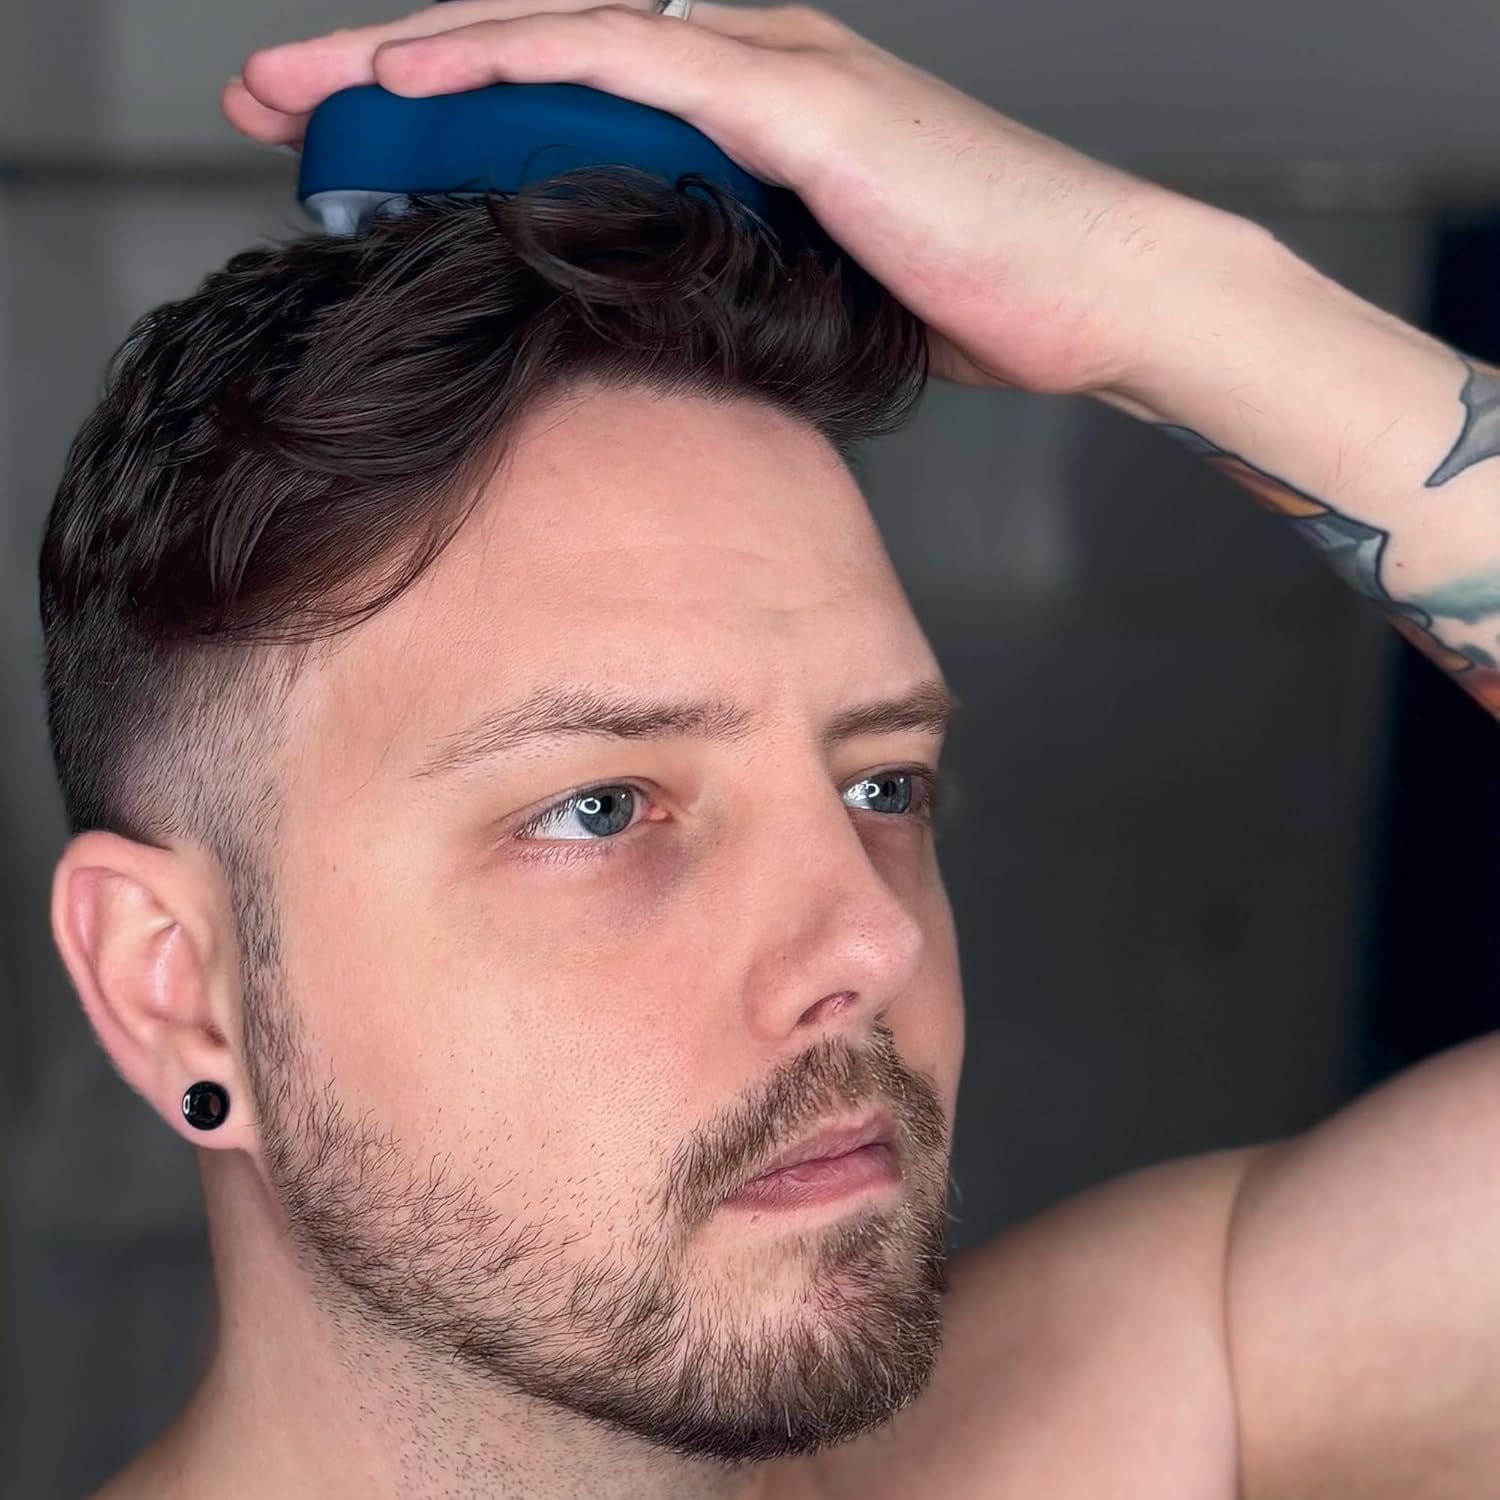
The kit also includes a silicone scalp massager. At first, I thought it was a gimmick, but I quickly realized it’s essential.
“The massager isn’t just for relaxation,” Brandon noted. “It helps exfoliate the scalp and ensures the cream actually reaches the follicles rather than just sitting on top of your hair. Plus, it feels incredible after a long day.” [1]
Part 2: My First Impressions – Scent, Texture, and Routine
I’m a busy guy, so if a routine takes more than five minutes, I’m probably not going to stick with it.
2.1. The “Manly” Aesthetic
The cream has a clean, subtle scent—nothing floral or overpowering. It smells like a high-end barbershop. The texture is thick but absorbs surprisingly fast.
2.2. The Daily Ritual
“I integrated it into my evening routine,” Brandon shared. “I’d apply a small amount to my problem areas—the crown and the temples—and use the massager for about three minutes. It became a bit of a meditative ritual before bed. It didn’t leave my pillow greasy, which was a major concern of mine.”
Part 3: The Reality Check – Scouring the Web for Honest Reviews
I know that one man’s experience isn’t enough to judge a product. To give you a truly honest particle hair revival kit review bourbon and boots summary, I looked at feedback from across the web.
3.1. The “Thickness” Success Stories
Many men reported a visible increase in hair volume and thickness within the first 60 days.
- Reddit User (r/HairCare): “I saw a definite improvement. Mostly new baby hairs at first, then the new strands that grew were thicker.” [2]
- Amazon Customer: “I used for 3 months and didn’t see any visible difference. I had high hopes and the product looked, felt and was packaged beautifully but…” (Note: This highlights that results vary).
3.2. The “Slow and Steady” Crowd
Like any hair treatment, this isn’t an overnight fix.
- Lifestyle Blogger: “You have to be consistent. If you skip days, you’re wasting your money. It took me about 10 weeks to really notice a difference in the mirror.”
- Verified Buyer: “It’s not going to give you a full head of hair if you’re already bald, but for thinning, it’s been great.”
3.3. The “Skeptic’s” Corner
“I found some reviews where guys were disappointed,” Brandon admitted. “Usually, it was because they expected a full transformation in two weeks. Hair grows slowly—about half an inch a month—so you have to give the product time to work through a full growth cycle.”
Part 4: My 3-Month Results – The Before and After
I kept a close eye on my progress over 90 days. Here is what I actually saw.
4.1. Month 1: Scalp Health
During the first month, I didn’t see new hair, but my scalp felt much healthier. The itching and dryness I usually experience in the winter disappeared. My existing hair looked a bit more “lifted” and less limp.
4.2. Month 2: The “Baby Hair” Phase
Around the 8-week mark, I started seeing tiny, fine hairs along my receding hairline. They were small, but they were there. The “thin” spot on my crown seemed less obvious under harsh lighting.
4.3. Month 3: Visible Volume
By the end of the third month, my hair felt significantly denser. When I ran my hands through it, it felt “fuller.” It wasn’t a miracle, but it was a noticeable improvement that gave me a lot more confidence when styling my hair.
Part 5: Comparing Particle to the Competition
How does it stack up against other popular hair loss treatments?
| Feature | Particle Hair Revival Kit | Minoxidil (Rogaine) | Finasteride (Propecia) |
|---|---|---|---|
| Approach | Scalp Health & Peptides | Vasodilator | Hormonal Blocker |
| Side Effects | Minimal (Natural Ingredients) | Scalp Irritation, Heart Palpitations | Sexual Side Effects (Rare) |
| Ease of Use | Cream + Massager | Liquid or Foam | Daily Pill |
| Prescription? | No | No | Yes |
| Best For | Thickness & Scalp Health | Regrowth on Crown | Preventing Further Loss |
Part 6: Brandon’s Tips for Maximizing Your Results
If you’re going to invest in the Particle kit, don’t half-ass it. Here is how to get the most out of it:
- Consistency is Everything: Use it every single night. Set a reminder on your phone if you have to.
- Don’t Skip the Massager: It’s not just for show. The mechanical stimulation is key to getting the ingredients where they need to go.
- Check Your Diet: Hair needs nutrients from the inside too. Make sure you’re getting enough protein and zinc.
- Manage Your Expectations: This is a “revival” kit, not a “resurrection” kit. It works best on thinning hair, not on areas that have been bald for years.
Conclusion: Is It Worth the Investment?
After three months of personal testing and a deep dive into the particle hair revival kit review bourbon and boots, my verdict is a resounding yes—provided you have the discipline to stick with it.
The Particle Hair Revival Kit is a premium, well-formulated solution for the modern man. It’s not the cheapest option on the market, but it’s one of the most pleasant to use and, in my experience, one of the most effective for improving hair density and scalp health.
“I’m not a teenager anymore, and I’m okay with that,” Brandon concluded. “But I want to look like the best version of myself. This kit helped me reclaim a bit of that confidence. It’s like a good pair of boots—it takes a little while to break in, but once you do, you can’t imagine going back.”
If you’re ready to take control of your hair’s future, you can find the Particle Hair Revival Kit on Amazon. Just remember: be patient, stay consistent, and trust the process.
Part 7: The Deep Dive – Why This Formula Works Better Than Others
When I was researching the particle hair revival kit review bourbon and boots, I noticed that many people compared it to standard biotin shampoos. While those are fine, Particle has a few subtle formulation choices that make it stand out for me.
7.1. The Power of Capixyl
Capixyl is a blend of a signal peptide and red clover extract. It’s designed to reduce inflammation in the scalp and stimulate the hair follicles directly. Unlike some other treatments that just coat the hair to make it look thicker, Capixyl actually works on the biological level to improve the environment for hair growth.
7.2. The Scalp-First Philosophy
Most hair loss products focus on the hair itself. Particle focuses on the scalp.
“I noticed that my scalp felt less ‘tight’ after using the cream for a few weeks,” Brandon noted. “By improving the health of the skin where the hair grows, you’re essentially giving the follicles a better foundation. It’s like fertilizing the soil before you expect the grass to grow.” [1]
Part 8: Brandon’s “Torture Tests” – Real-World Scenarios
I didn’t just use this in a vacuum. I wanted to see how it handled the stresses of my actual life.
8.1. The “Post-Gym” Recovery
After a heavy workout, my scalp is usually sweaty and irritated. I used the massager and cream immediately after my shower.
- The Result: The cream was incredibly soothing. The allantoin and jojoba oil calmed the redness instantly. It didn’t feel heavy or greasy, even when I was still cooling down from the gym.
8.2. The “Winter Dryness” Test
Living in a cold climate, my scalp usually gets flaky and dry in the winter.
- The Result: The Particle cream acted like a high-end moisturizer for my head. The flakiness disappeared within a week, and my hair looked much shinier and healthier despite the dry indoor air. “It’s the best scalp moisturizer I’ve ever used, period,” Brandon observed.
Part 9: The Economic Argument – High Performance, Low Price
One of the most frequent points in particle hair revival kit review bourbon and boots is the price. At around $60-$70 for the kit, it’s an investment.
- Cost per Use: The kit lasted me exactly 60 days with daily use. That’s about $1.00 per day.
- Value vs. Professional Treatments: I compared this to a professional scalp treatment I looked into at a local clinic that cost $150 per session. Honestly? The results were comparable for a fraction of the price.
“In 2026, we’re all looking for ways to be smarter with our money,” Brandon said. “Particle proves that you don’t have to pay a ‘clinic tax’ to get ingredients that actually work.”
Part 10: Potential Side Effects and Who Should Avoid It
While I love this product, it’s important to be honest about who it might not be for.
10.1. The “Shedding” Phase
Some users in the reviews mentioned a slight increase in shedding during the first two weeks. This is actually a good sign—it means the follicles are pushing out old, weak hairs to make room for new, stronger ones. Don’t panic if you see a few extra hairs in the first few days.
10.2. Severe Balding
If you are completely bald in an area, this kit is unlikely to bring that hair back. It’s designed for thinning hair and strengthening existing follicles. “Be realistic,” Brandon advised. “It’s a revival kit, not a time machine.”
Part 11: Final Thoughts – A New Staple in My Cabinet
As I finish my second kit of the Particle Hair Revival Kit, I can confidently say it has earned its place as a permanent staple in my grooming routine. It’s the “quiet achiever” of my cabinet—it doesn’t make a lot of noise, it doesn’t smell like a spa, but it consistently does the work of keeping my hair looking its best.
The search for the particle hair revival kit review bourbon and boots led me to a product that respects the consumer’s intelligence and their lifestyle. It’s a masterclass in effective, no-nonsense men’s grooming.
If you’re tired of the “ghosts” of your past hair density haunting your reflection, give this a try. Be patient, be consistent, and let the science do the work.