Join George Smith as he meticulously compares the breville bambino vs bambino plus espresso machines. Discover the subtle yet significant differences, the pros and cons of each, and which machine ultimately delivers the best home barista experience for your morning brew.
Introduction: My Espresso Obsession and the Breville Dilemma
My name is George Smith, and I confess: I am an espresso enthusiast. For years, my mornings have revolved around the ritual of crafting the perfect shot – the rich aroma, the golden crema, the velvety texture of steamed milk. I’ve experimented with various machines, grinders, and beans, always chasing that elusive café-quality experience right in my own kitchen.
Recently, my journey led me to a common crossroads for many aspiring home baristas: the Breville Bambino vs Bambino Plus debate. These two compact, sleek machines from Breville promise professional-grade espresso without the professional price tag or the intimidating learning curve. But with similar names and appearances, what truly sets them apart? And more importantly, which one is the better investment for someone like me, who values both quality and convenience?
I decided to put them to the ultimate test. I acquired both the Breville Bambino Espresso Machine (BES450BSS) and the Breville Bambino Plus Espresso Machine (BES500BSS). For weeks, my kitchen transformed into a mini-laboratory, filled with the hum of pumps, the hiss of steam, and the delightful aroma of freshly pulled shots. I meticulously compared every aspect, from shot quality and milk frothing to ease of use and cleanup.
This isn’t just a technical breakdown; it’s my personal account of living with both machines, understanding their nuances, and ultimately determining which one truly delivers on its promise. If you’re standing at the same crossroads, wondering whether to go for the Bambino or splurge on the Bambino Plus, this comprehensive guide is for you.
Part 1: First Impressions – Design, Footprint, and Build Quality
Unboxing both machines, the family resemblance was striking. Breville has done an excellent job of maintaining a consistent aesthetic across their compact espresso line. Both are undeniably stylish and designed to fit into smaller kitchens.
1.1. The Breville Bambino (BES450BSS): The Lean, Mean Espresso Machine
The Best, Cheapest, and Most Powerful Pick Breville Bambino

specs
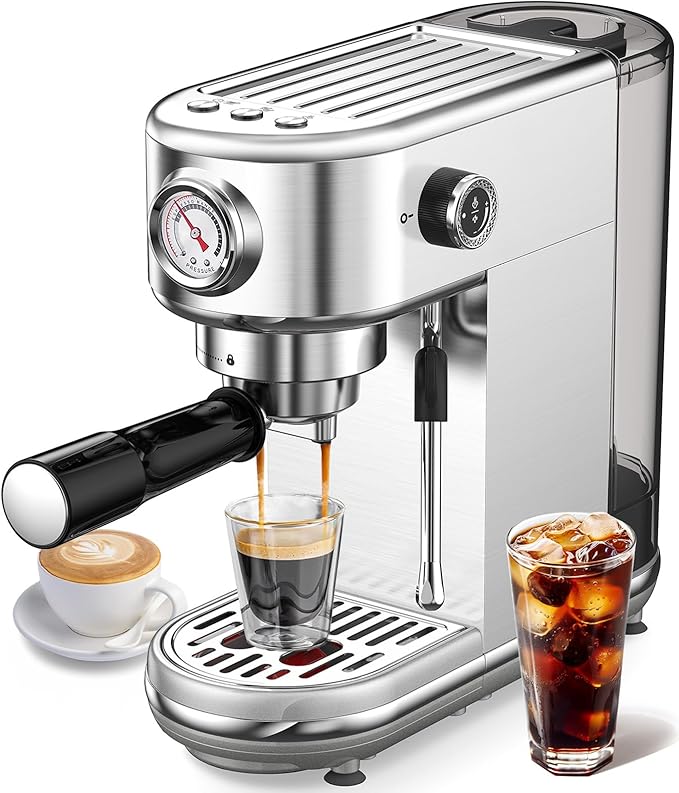
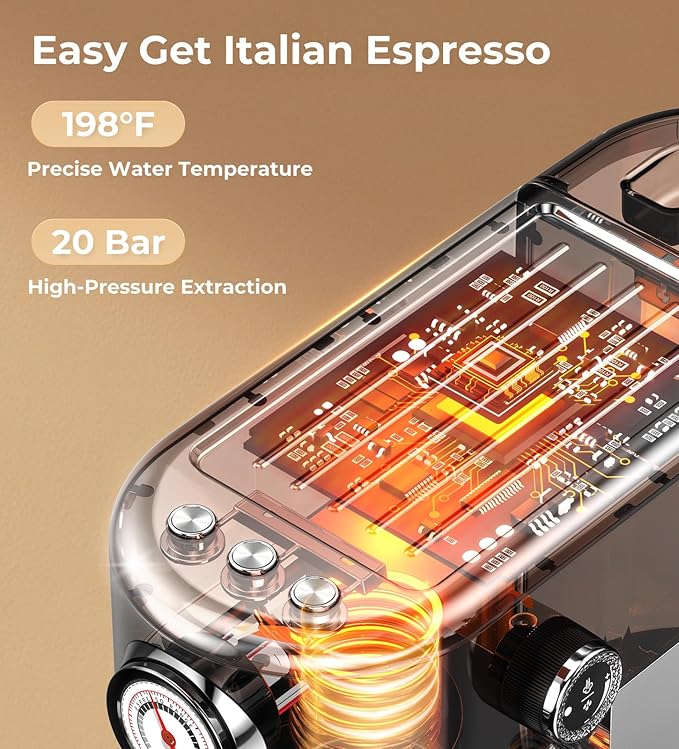
⭐ Pressure System: 20-bar professional high-pressure pump for rich espresso extraction.
⭐ Power: 1350 W motor supports fast heating and brewing.
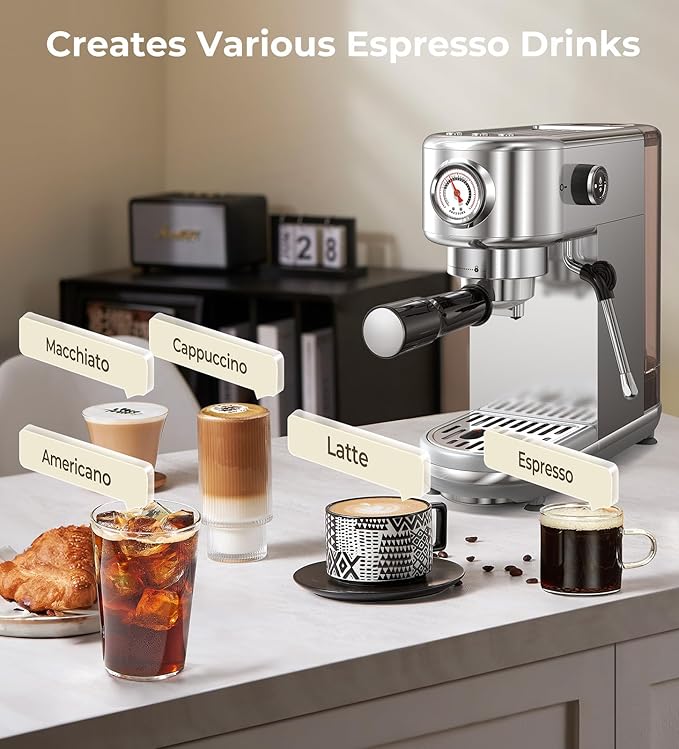
⭐ Milk Frothing: Steam wand milk frother creates creamy microfoam for cappuccinos and lattes.
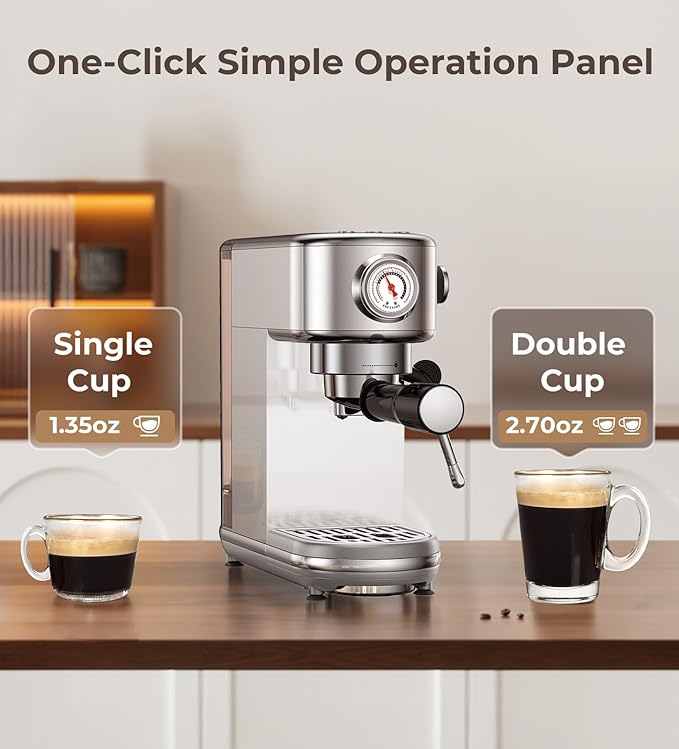
⭐ Controls & Modes: Auto espresso mode + manual extraction option for personalized strength and shot length.
pros
✅ Professional-grade pressure: The 20-bar system delivers café-style espresso with rich aroma and crema.
✅ NTC temperature control: Precision heating ensures optimal extraction for each shot.
✅ Versatile frothing: The steam wand produces creamy milk foam for cappuccinos, lattes, and more.
✅ Compact and easy to clean: Removable water tank and drip tray make maintenance simple.
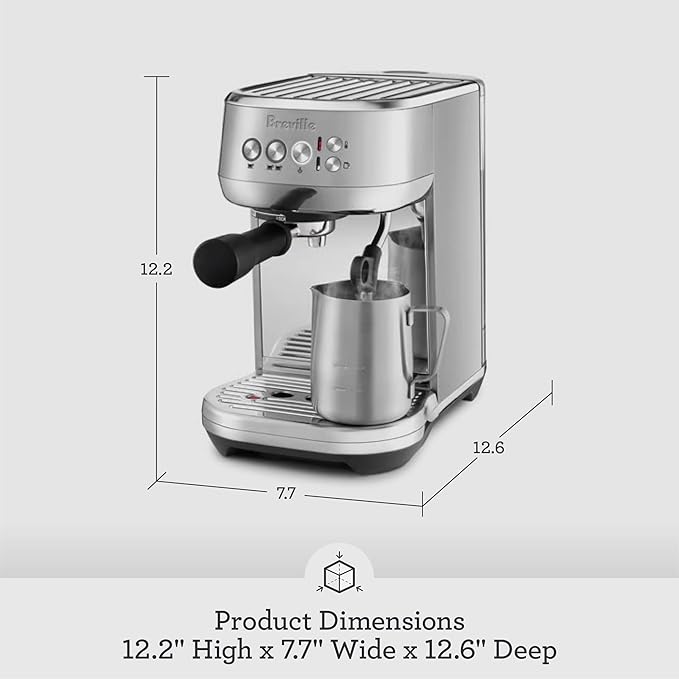
The standard Bambino immediately impressed me with its minimalist design. It’s incredibly compact, measuring roughly 7.7 inches wide, 12.6 inches deep, and 12.2 inches high. The brushed stainless steel finish felt solid, and the controls were straightforward: a single/double shot button, and a steam button. The drip tray was removable, and the water tank (47 oz capacity) was easily accessible from the back.
“The Bambino felt like a focused tool,” George noted. “It stripped away all the unnecessary bells and whistles, leaving just the essentials for pulling a great shot. It felt robust, despite its small size.”
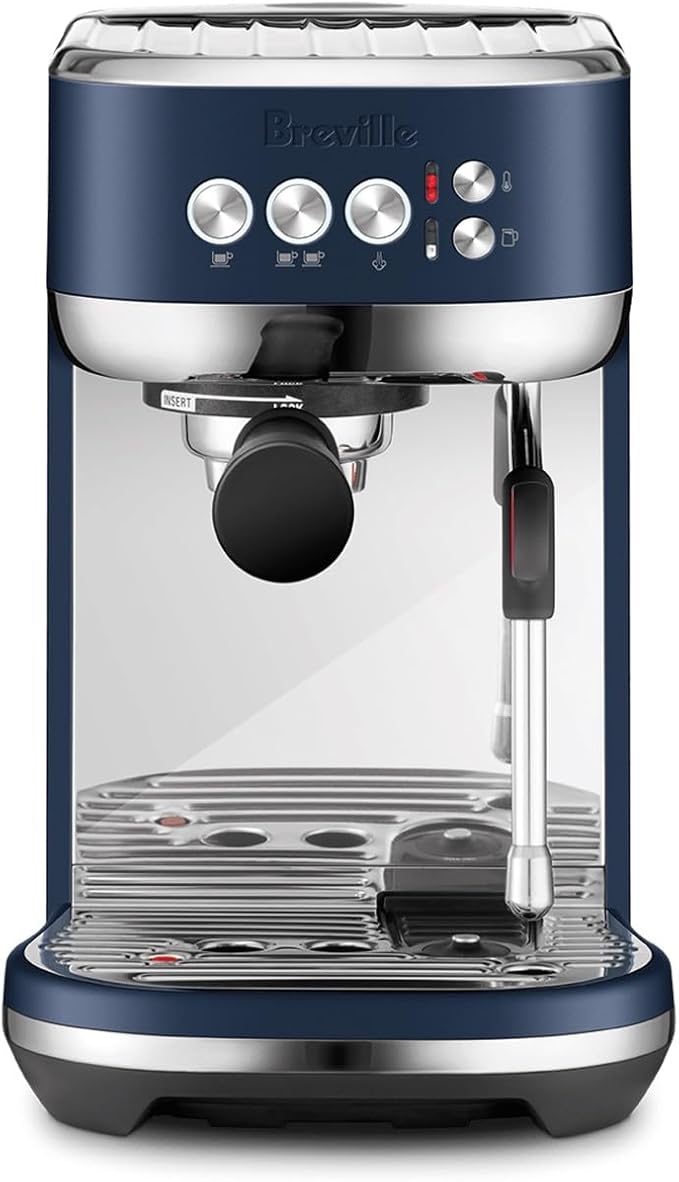
1.2. The Breville Bambino Plus (BES500BSS): The Feature-Rich Sibling
The Best, Cheapest, and Most Powerful Pick Breville Bambino Plus
specs
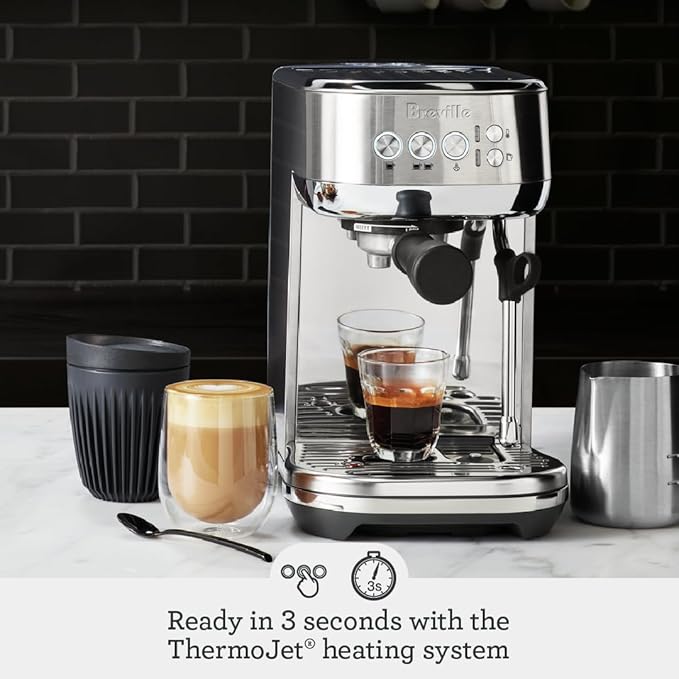
⭐ ThermoJet Heating System: Heats up in about 3 seconds for quick espresso on demand.
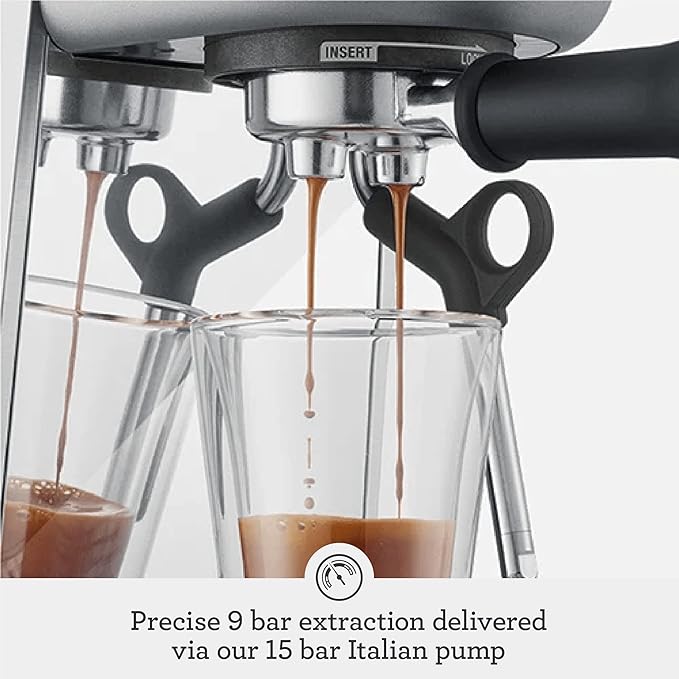
⭐ Pressure: 15-bar Italian pump — standard for rich espresso extraction and crema.
⭐ Temperature Control: PID digital temperature regulation for consistent brewing results.
⭐ Portafilter Size: 54 mm portafilter — accommodates about 18 g of coffee for fuller flavor.
pros
✅ Blazing fast heat-up time — ThermoJet technology means minimal waiting before brewing.
✅ Café-quality espresso: Produces rich, flavorful shots with good crema even for home use.
✅ Compact and space-saving: Great fit for small kitchens or countertops without sacrificing performance.
✅ User-friendly operation: Simple controls make it easy for beginners to use and enjoy consistent results.
The Bambino Plus, while sharing the same sleek design language, felt a touch more substantial. It’s slightly wider at 7.7 inches, with similar depth and height. The most immediate visual difference was the dedicated milk frothing wand, which looked more integrated and professional. The controls were also more advanced, featuring dedicated buttons for single shot, double shot, and an automatic milk frothing function with temperature and texture settings.
“The Plus felt like the Bambino’s older, more sophisticated sibling,” George observed. “It retained the compact charm but added features that promised a more automated and potentially easier workflow, especially for milk-based drinks.”
Both machines share Breville’s impressive ThermoJet heating system, which promises a 3-second heat-up time. This was a significant draw for me, as waiting for a machine to warm up can be a real drag in the morning rush.
Part 2: The Espresso Shot – Heart of the Matter
Ultimately, an espresso machine lives or dies by the quality of its espresso. This was the most critical part of my testing. I used the same freshly ground coffee beans (a medium-roast blend) and a high-quality grinder to ensure consistency.
2.1. The Breville Bambino: Manual Control, Impressive Results
The Bambino is a semi-automatic machine, meaning it requires more manual input, particularly for milk frothing. For espresso, it uses a 54mm portafilter, which is standard for Breville’s entry-level machines and holds 18-19 grams of coffee, ideal for a double shot. It also features a 9-bar extraction pressure, crucial for proper espresso.
2.1.1. Shot Quality
“The Bambino consistently pulled excellent shots,” George reported. “With a good grind and proper tamping, I was getting rich, dark espresso with a beautiful, thick crema. The pre-infusion feature, which gently soaks the coffee grounds before full pressure, really helped to extract maximum flavor.”
I found that the Bambino’s manual control over shot volume (you can program it or stop it manually) allowed for fine-tuning, which is great for those who like to experiment.
2.1.2. Workflow
The workflow was straightforward: grind, dose, tamp, insert portafilter, press button. The 3-second heat-up time was a game-changer. From turning it on to pulling a shot, it was incredibly fast.
2.2. The Breville Bambino Plus: Automated Perfection, or Close to It?
The Bambino Plus shares the same core espresso technology: 54mm portafilter, 18-19g dose, 9-bar extraction, and the ThermoJet heating system. So, in terms of raw espresso quality, I expected them to be very similar.
2.2.1. Shot Quality
“As expected, the Bambino Plus delivered equally impressive espresso shots,” George confirmed. “The flavor profiles were identical when using the same beans and grind. The pre-infusion worked its magic here too, ensuring a balanced extraction.”
The Plus also offers programmable shot volumes, giving you the same flexibility as the standard Bambino.
2.2.2. Workflow
The workflow for espresso was virtually identical to the Bambino, which is a testament to Breville’s efficient design. The speed from cold start to first shot was consistently around 30 seconds, including grinding and tamping.
Part 3: The Milk Frothing Factor – Where the Differences Emerge
This is where the Breville Bambino vs Bambino Plus debate truly heats up. Both machines have steam wands, but their functionality is vastly different.
3.1. The Breville Bambino: The Manual Art of Steaming
The standard Bambino features a powerful manual steam wand. It’s a single-hole tip, designed for hands-on milk frothing.
3.1.1. Performance
“The Bambino’s steam wand is surprisingly powerful for such a small machine,” George remarked. “It generates good pressure and can create decent microfoam, but it requires skill. You need to know how to position the wand, how to stretch the milk, and how to texture it.”
For experienced home baristas, this manual control is a huge plus. It allows for precise control over milk temperature and texture, essential for latte art. However, for beginners, it can be a steep learning curve, often resulting in bubbly, inconsistent foam.
3.1.2. Cleanup
Cleanup involves wiping the wand immediately after use and purging it to clear any milk residue. Standard for manual wands.
3.2. The Breville Bambino Plus: The Automated Milk Maestro
The Bambino Plus boasts an automatic steam wand. This is its standout feature and a major differentiator.
3.2.1. Performance
“The automatic steam wand on the Bambino Plus is a game-changer for milk-based drinks,” George exclaimed. “You simply fill the milk jug, place it under the wand, and press a button. The machine automatically steams the milk to your chosen temperature and texture (low, medium, high foam).”
This feature consistently produced silky, perfectly textured microfoam, ideal for latte art, even for a novice. The sensor in the drip tray detects the milk jug and automatically stops steaming when the desired temperature is reached. This takes all the guesswork out of milk frothing.
3.2.2. Cleanup
The Bambino Plus also has an automatic purge function for the steam wand, making cleanup incredibly easy. After each use, it automatically releases a burst of steam to clear any milk, and a quick wipe is all that’s needed.
Part 4: Beyond the Shot – Water Tanks, Portafilters, and Accessories
While espresso and milk are primary, other features contribute to the overall user experience and value.
4.1. Water Tank Capacity
•Bambino: 47 oz (1.4 liters)
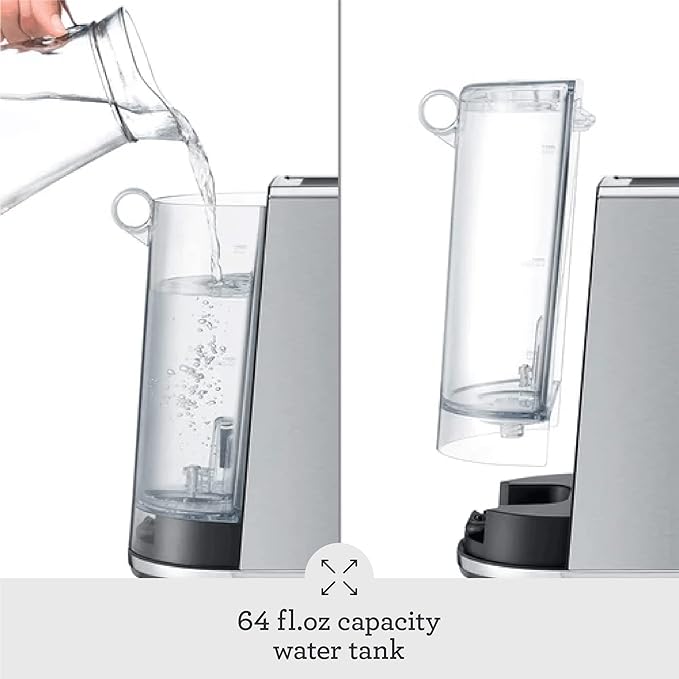
•Bambino Plus: 64 oz (1.9 liters)
“The larger water tank on the Bambino Plus was a small but welcome convenience,” George noted. “It meant fewer refills, especially when making multiple drinks or using the hot water function for Americanos.”
4.2. Portafilters and Filter Baskets
Both machines come with 54mm portafilters and both single and double wall (pressurized) filter baskets. The double-wall baskets are forgiving for pre-ground coffee or inconsistent grinding, while the single-wall baskets are for freshly ground coffee and allow for more control over extraction.
4.3. Included Accessories
Both machines include a stainless steel milk jug, a tamper, and the Razor™ dose trimming tool. The Bambino Plus’s milk jug is slightly larger to accommodate its automatic frothing system.
Part 5: The Price Tag and Value Proposition
This is often the deciding factor for many home baristas. The Bambino is typically more affordable than the Bambino Plus.
5.1. Breville Bambino: The Entry-Level Champion
“The standard Bambino offers incredible value,” George stated. “For its price, you get a machine that pulls truly excellent espresso shots, heats up instantly, and has a powerful manual steam wand. It’s an ideal entry point for anyone serious about learning espresso, especially if they enjoy the hands-on aspect of milk frothing.”
Its lower price point makes it accessible, and its performance punches well above its weight class.
5.2. Breville Bambino Plus: The Convenience Upgrade
“The Bambino Plus commands a higher price, but it justifies it with its automated milk frothing,” George explained. “For those who primarily drink milk-based beverages (lattes, cappuccinos) and want consistent, hands-free microfoam, the extra cost is absolutely worth it. It significantly lowers the barrier to entry for making beautiful milk drinks.”
It’s also a great choice for busy individuals who want café-quality drinks with minimal effort.
Part 6: George Smith’s Personal Testing Experience – The Daily Grind
Living with both machines for several weeks gave me a deep understanding of their daily nuances. My routine typically involves 2-3 milk-based drinks in the morning and an occasional espresso shot in the afternoon.
6.1. Morning Rush: Bambino vs. Bambino Plus
On a typical weekday morning, time is of the essence. I found myself gravitating towards the Bambino Plus.
“The Bambino Plus was a lifesaver during the morning rush. I could grind my beans, tamp my shot, and while the espresso was pulling, I’d place the milk jug under the wand and let it do its thing. By the time the shot was ready, the milk was perfectly frothed. It cut down my prep time significantly.”
With the standard Bambino, I had to actively steam the milk, which added a minute or two of focused attention. While I enjoy the art of steaming, it’s not always practical when I’m trying to get out the door.
6.2. Weekend Experimentation: The Joy of Manual Control
On weekends, when I had more time to savor the process, I found myself appreciating the manual steam wand of the standard Bambino more.
“There’s a certain satisfaction in manually frothing milk, feeling the texture change, and hearing the subtle sounds,” George mused. “The Bambino allowed me to really hone my technique, and when I got it right, the microfoam was just as good as the Plus, if not better because it was my creation.”
This highlights a key psychological difference: the Bambino offers more engagement, while the Bambino Plus offers more convenience.
6.3. Shot Consistency: A Tie
Across hundreds of shots, both machines were remarkably consistent in their espresso extraction, provided I used fresh beans and a good grinder. The 9-bar pressure and ThermoJet heating system are shared technologies, and they perform admirably in both models.
Part 7: Technical Deep Dive – What’s Under the Hood?
To truly understand the performance, we need to look at the engineering behind these compact powerhouses.
7.1. The ThermoJet Heating System
Both the Bambino and Bambino Plus utilize Breville’s proprietary ThermoJet heating system. This is a crucial innovation that sets them apart from many other entry-level machines.
“Unlike traditional thermoblock or boiler systems that can take minutes to heat up, the ThermoJet uses a coil of water that heats almost instantly as it passes through. This is why both machines are ready to brew in just 3 seconds.”
This rapid heat-up not only saves time but also contributes to energy efficiency, as the machine isn’t constantly heating a large reservoir of water.
7.2. PID Temperature Control
Both machines feature PID (Proportional-Integral-Derivative) temperature control. This is a technology typically found in much more expensive machines, ensuring that the water temperature for extraction is precisely maintained.
“Consistent water temperature is paramount for optimal espresso extraction,” George explained. “Even a few degrees of variation can drastically alter the flavor of your shot. The PID control in both Bambino models ensures that every shot is brewed at the ideal temperature, leading to a more consistent and delicious result.”
7.3. Low-Pressure Pre-Infusion
Before applying full 9-bar pressure, both Bambino models use a low-pressure pre-infusion. This gently soaks the coffee grounds, allowing them to expand evenly.
“Pre-infusion helps to ensure a more even extraction, preventing channeling and maximizing flavor,” George elaborated. “It’s a subtle feature, but it makes a noticeable difference in the quality and consistency of the espresso, especially for home baristas who might not have perfectly dialed-in grind settings.”
Part 8: The Nitty-Gritty – Cleaning and Maintenance
Even the best espresso machine can become a chore if it’s difficult to clean. Fortunately, both Bambino models are designed with practicality in mind.
8.1. Drip Trays and Water Tanks
Both machines have removable drip trays and water tanks, making them easy to clean and refill. The Bambino Plus’s larger water tank means less frequent refilling, which is a minor convenience.
8.2. Descaling
Like all espresso machines, both Bambino models require regular descaling to prevent mineral buildup. They have indicator lights that alert you when descaling is needed, and the process is straightforward, guided by the user manual.
8.3. Portafilter and Baskets
The 54mm portafilters and filter baskets are easy to clean with a quick rinse after each use. Backflushing (using a blind filter basket) is also recommended periodically to clean the group head.
Part 9: Breville Bambino vs Bambino Plus – The Ultimate Comparison Table
To help you make an informed decision, here’s a comprehensive side-by-side comparison of the key features:
| Feature | Breville Bambino (BES450BSS) | Breville Bambino Plus (BES500BSS) |
| Price Point | Lower | Higher |
| Heat-up Time | 3 seconds (ThermoJet) | 3 seconds (ThermoJet) |
| Espresso Quality | Excellent (9-bar, PID, pre-infusion) | Excellent (9-bar, PID, pre-infusion) |
| Portafilter Size | 54mm | 54mm |
| Milk Frothing | Manual Steam Wand (requires skill) | Automatic Steam Wand (auto-purge, temp/texture settings) |
| Water Tank Capacity | 47 oz (1.4 L) | 64 oz (1.9 L) |
| Auto Purge Steam Wand | No | Yes |
| Auto Milk Temperature Sensor | No | Yes |
| Footprint (W x D x H) | 7.7″ x 12.6″ x 12.2″ | 7.7″ x 12.5″ x 12.2″ (similar) |
| Colors Available | Brushed Stainless Steel | Brushed Stainless Steel, Black Truffle, Sea Salt, Damson Blue |
| Best For | Beginners wanting to learn manual frothing, budget-conscious, espresso purists | Beginners wanting automated milk, convenience, milk-drink lovers, busy mornings |
Part 10: George Smith’s Final Verdict – Which One Should You Choose?
After countless shots, steamed milk, and meticulous comparisons, my journey through the Breville Bambino vs Bambino Plus debate has reached its conclusion. Both machines are exceptional, offering incredible value and performance in their respective niches. The choice ultimately comes down to your priorities and your budget.
10.1. Choose the Breville Bambino if:
•You are budget-conscious: It offers fantastic espresso quality at a more accessible price point.
•You want to learn the art of manual milk frothing: Its powerful manual steam wand is an excellent tool for developing barista skills.
•You primarily drink straight espresso or Americanos: The core function of espresso extraction is identical to the Plus.
•You appreciate a more hands-on, minimalist approach.
10.2. Choose the Breville Bambino Plus if:
•You prioritize convenience and consistency for milk-based drinks: The automatic steam wand is a standout feature, delivering perfect microfoam every time with minimal effort.
•You are a beginner who wants café-quality lattes and cappuccinos without the learning curve of manual frothing.
•You have busy mornings and value speed and automation.
•You prefer a slightly larger water tank and the auto-purge feature for easier maintenance.
George Smith’s Ultimate Recommendation:
“For me, the Breville Bambino Plus (BES500BSS) is the overall winner. While the standard Bambino is an outstanding machine, the automated milk frothing of the Plus is a game-changer for daily use. It consistently delivers perfect microfoam, making it incredibly easy to produce café-quality lattes and cappuccinos, even on the busiest mornings. The added convenience and consistent results justify the slightly higher price tag, making it the superior choice for most home baristas who enjoy milk-based drinks.”
However, if your budget is tighter or you genuinely enjoy the hands-on challenge of manual milk frothing, the Breville Bambino (BES450BSS) remains an excellent choice. You won’t be sacrificing espresso quality, only some of the milk-steaming convenience.
In the end, both machines are a testament to Breville’s commitment to bringing high-quality espresso to the home kitchen. Your perfect cup awaits, regardless of which Bambino you choose.